Sometime last year December, I began craving a way to effortlessly combine my portfolio and blog into one single app. This was a rather difficult task at the time. Luckily, Hashndoe had an API in WIP which made it possible to at least showcase some of my blogposts on my portfolio landing page. However, this wasn't enough.
Recently, the Hashnode team announced the public release of their headless API which answered much of what I considered disturbing - post display, edit, commenting etc. The new API makes it easy to fetch and display blog posts and even create a dynamic web page. This was what I set out to do with the API.
Basic Setup 🚧
As I mentioned, I've been working and reworking my portfolio for a long while. Hashnode had always powered my blog but with no way to have both the blog and portfolio on the same domain. Hashnode Headless became a big game changer in this regard. The first step was inspecting the starter kit provided by the hashnode team.
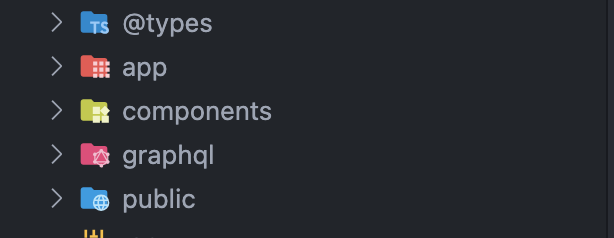
What I did was copy over the graphql queries and schema.grapghl to my github repository. You can do the same or if you'd prefer you can make use of the starter kit and just tweak it to your likes. I didn't want to do this since I was hell-bent on making use of NextJS 13.5 unique features and more importantly, I had targeted serverActions in an attempt to truly make my portfolio as fast as possible with every technology available to spare. And so, I ended up with a structure similar to this after much tinkering of course.
At this point, I should give a big shout-out to Sandeep and the rest of the Hashnode team who were really helpful and quite responsive. I was stuck a few times, but the discord channel has great support, I was able to navigate my way around both the docs and the API in total.
Diving in 🤩
I was able to make out a few things from the starter kit, some of which have now been implemented on this website and others will be added with time. I will be discussing just the ones which have been included. How I was able to get them up correctly and how you can to
-
Posts Display
-
Posts Search
-
Single Post
-
Comments View
-
Newsletter Subscription
-
Analytics
First steps - Handling Requests
So, I know you want to find out about the features I was able to implement with the API but first thing first. Let's find out how I decided to execute the queries 🤩.
The Hashnode headless API is GraphQL based and as such I didn't want some complex mechanism for making my requests, so I wrote a util that simplistically handles queries/mutations. You can check the full source code if you'd prefer as well.
/**
 * Executes a list of similar GraphQL query against the given API endpoint.
 *
 * Sends a POST request with the query and variables to the provided base URL.
 * Parses the response as JSON and returns it.
 */
export const executeQuery = async <T>(
  /** The GraphQL query to execute */
  entry: SingleEntryRecord<string, GraphQLQuery>,

  /** Variables to pass to the query */
  variables?: Record<string, unknown>,

  /**
   * Options to configure the request.
   * @default { baseUrl: 'https://api.hashnode.com' }
   */
  options: {
    baseUrl?: string;
    headers?: Record<string, string>;
  } = {}
): Promise<ApiResponse<T>> => {
  const [[operationName, query]] = Object.entries(entry);

  const res = await fetch(options.baseUrl ?? "https://gql.hashnode.com", {
    method: "POST",
    headers: {
      "Content-Type": "application/json",
      ...options.headers,
    },
    body: JSON.stringify({
      query: buildQuery(query),
      variables,
      operationName,
    }),
  });

  return await res.json();
};
The util above allowed for easy querying of hashnode's API by simply writing the query and executing it with something similar to the following snippet:
// get all posts by a publication. E.g elcharitas.wtf/blog
const { data } = await executeQuery<PostsByPublicationQuery>(
    { PostsByPublication },
    { host, first, after: cursor }
);
I should mention that this util works so well, that it's easy to plug in any GraphQL query or mutation with almost no hitch 😉
Posts Search and Display 👀
The new headless API makes it effortless to fetch and display posts and this is thanks to the team's commitment as all queries are pretty much stable AFAICT.
Now, making use of the executeQuery util, I was able to fetch all posts by my publication. While there's no formal definition on Hashnode docs, a publication is simply put a hashnode blog such as mine - elcharitas.wtf. Publications may be identified by host or publicationId. You should keep this in mind and prolly note ✍🏼 this down somewhere.
This blog for instance has the following details:
HASHNODE_PUBLICATION_ID: 6231526bc4a093f00c8acd3b
HASHNODE_WEBHOOK_HOST: elcharitas.wtf
With the above details, we can run this query which would return a list of blog posts, ready to be transformed:
// get all posts by a publication. E.g elcharitas.wtf
const { data } = await executeQuery<PostsByPublicationQuery>(
    { PostsByPublication },
    { host, first, after: cursor }
);
One key thing to note here is the handling of pagination. The Queries return a cursor field which can be used to get the next set of posts. Implementing this was not an easy task and this is primarily because I wanted to ensure the Load more button does not appear as shown in the following transitions:
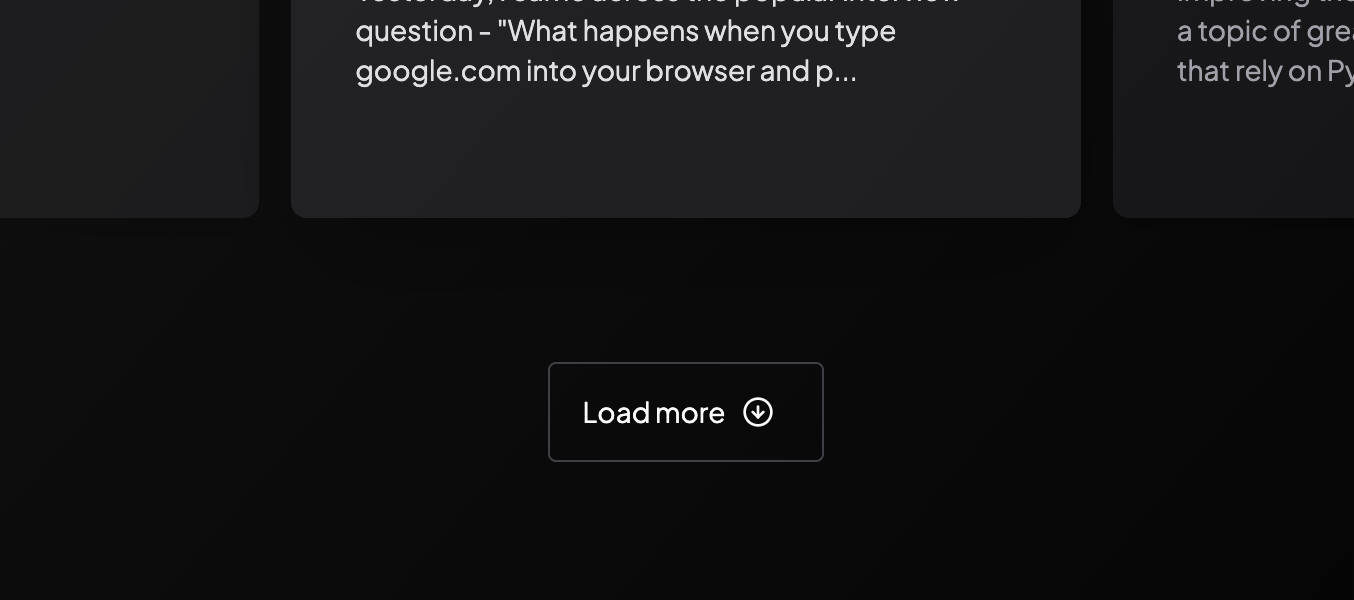

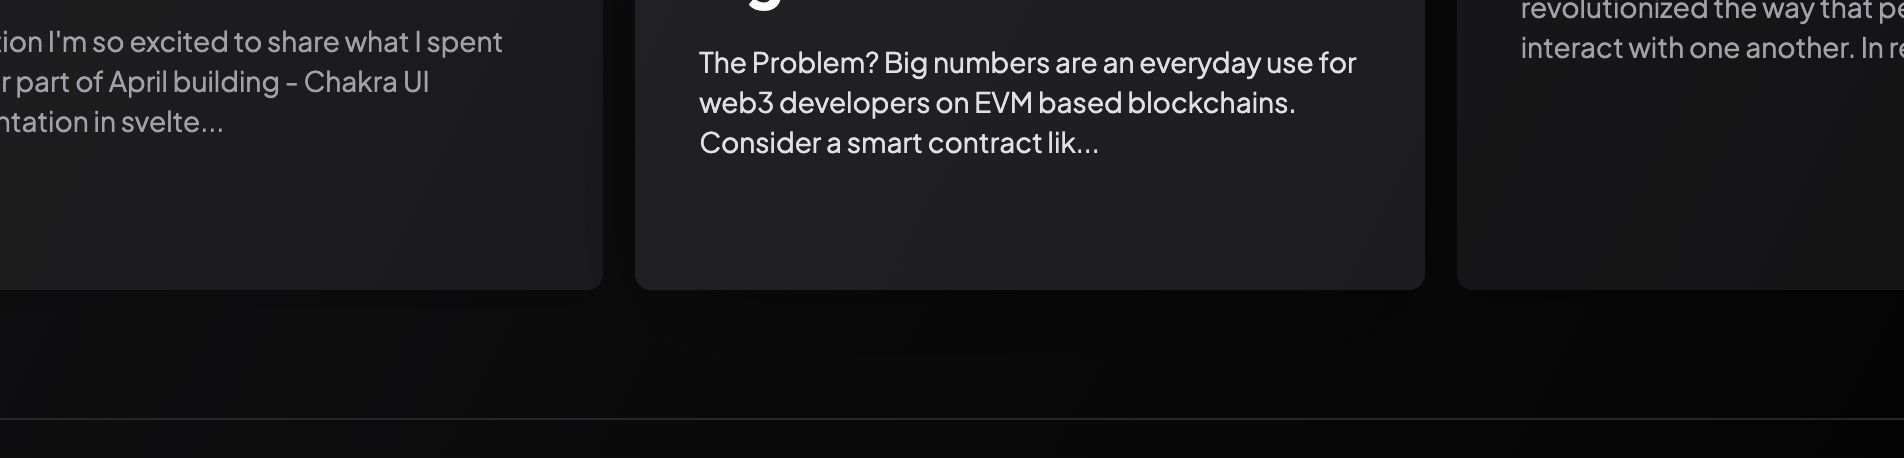
It's clear to me already that this would be difficult. So what I did was to track the cursor returned by the current query. And as such I was able to write a logic similar to this
const { data } = await executeQuery<PostsByPublicationQuery>(
    { PostsByPublication },
    { host, first, after: cursor }
);
const nextCursor = data.publication.posts.pageInfo.hasNextPage && data.publication.posts.pageInfo.endCursor;
The cursor can then be used to fetch the next set of posts. This same logic was applied in search posts as well.
Newsletter Subscription
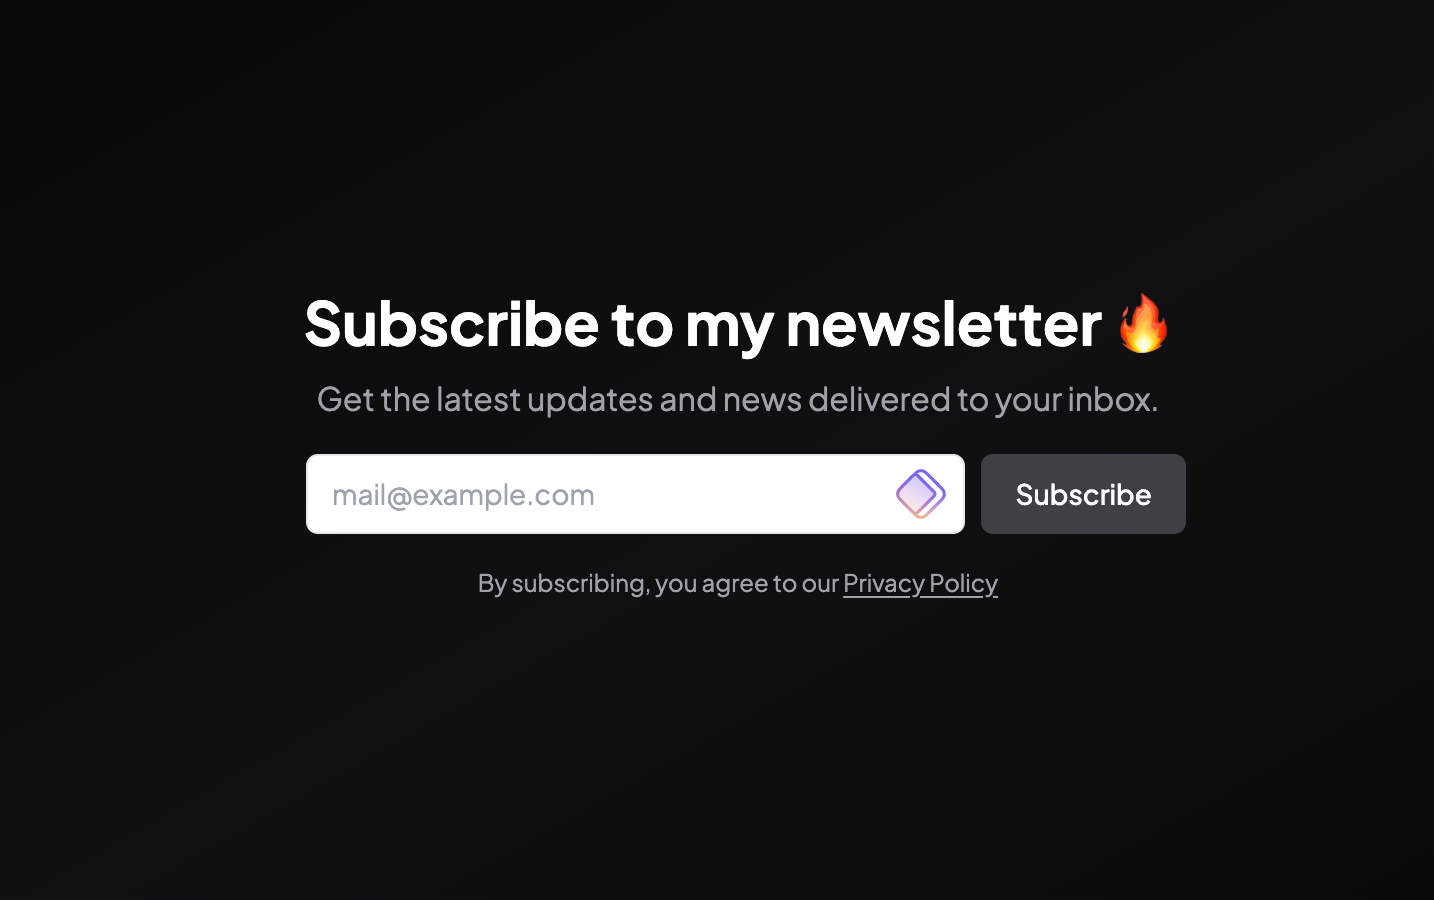
This is just about the only mutation I chose to integrate for personal reasons. I made use of serverActions on the frontend so it's pretty damn fast. It could be improved but making a request is as simple as making use of executeQuery:
await executeQuery<SubscribeToNewsletterMutation>(
    { SubscribeToNewsletter },
    { input: { email, publicationId } }
);
The frontend looks much like this image below and I'm hoping you would subscribe to be alerted the next time I drop an interesting read.
Analytics
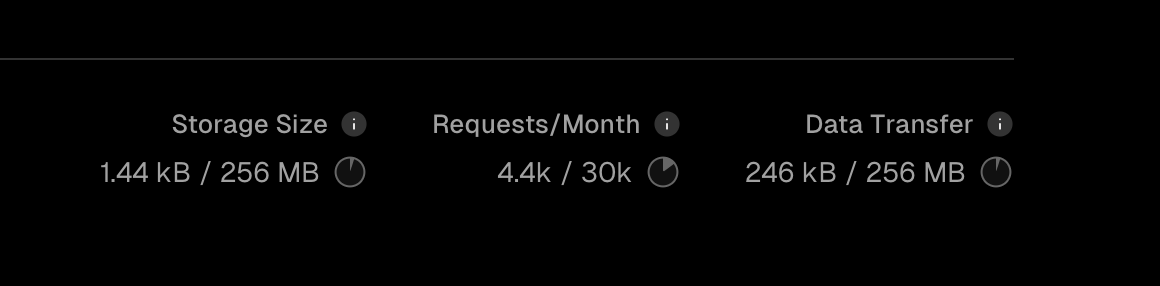
This is the final feature I would talk about. It's a groundbreaking one also 😅. Now, when I first setout to integrating the headless API, I discovered views and such do not get updated. I was heartbroken and decided to implement a views counter using Vercel's KV store (Alright, definitely a Vercel noob 😂).
As you can see from the insights below, it was a poor choice. I only made use of it for a few days and already accumulated this much 😭.
I reached out on Hashnode's Discord and I was informed via chat how the starter kit handles analytics such as page views, blog post views etc by making additional requests to hashnode's analytics.
Armed with this information, I set out to implement the same except everything would be handled server-side like every other requests so far 😅. I had to read through NextJS' documentation and go over the starter kit implementation a couple of times but I was able to implement it using middleware.
The idea is this: Whenever a blog post is navigated, send the server collected information of the user straight to hashnode. The full source code is open for view but here's a minimal footprint for view
export async function middleware(request: NextRequest) {
  const { nextUrl } = request;
  const slug = nextUrl.pathname.split("/").pop();
  const response = NextResponse.next();

  // If the slug is not present, we don't need to do anything
  if (!slug) {
    return response;
  }

  const { data } = await executeQuery<SinglePostByPublicationQuery>(
    { SinglePostByPublication },
    {
      host: "elcharitas.wtf/blog",
      slug,
    }
  );

  // fire and forget the analytics to reduce latency
  _sendViewsToHashnodeInternalAnalytics(
    data.publication,
    request,
    response
  ).catch((error) => {
    console.error("Error sending to Hashnode Internal Analytics:", error);
  });

  // fire and forget the analytics to reduce latency
  _sendViewsToHashnodeAnalyticsDashboard(data.publication, request).catch(
    (error) => {
      console.error("Error sending to Hashnode Analytics Dashboard:", error);
    }
  );

  return response;
}

export const config = {
  matcher: ["/blog/:slug*"], // ensures we only track blog posts
};
Conclusion 😇
I decided to be a bit thorough as this journey was not an easy one. I was able to build a fully responsive portfolio with my blog integrated thanks to the headless API but more importantly, I can enjoy the speed and smooth navigation as well.🌚
I should also mention that my portfolio is fully open-source. So feel free to drop a star (This would increase the project's rank on my projects page), fork and use it for your own needs and if you can, add a reference back to the github, It helps!
Thanks for reading through ❤️